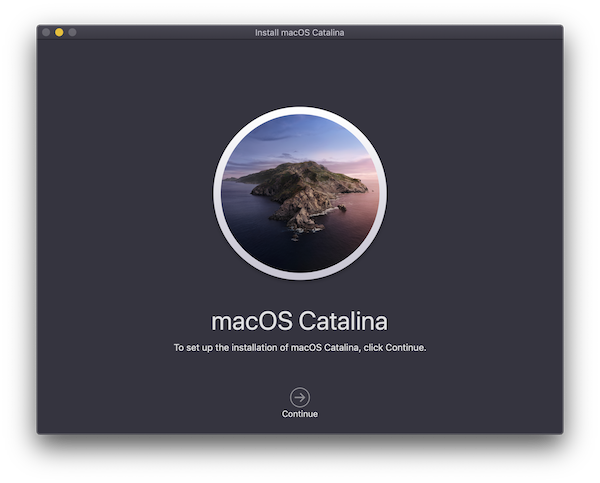
Here’s how to clean install macOS 10.15 Catalina on Mac via USB drive the right way using this guide.
It’s been a long time coming, but macOS 10.15 Catalina is now available for anyone who has a compatible Mac. You can, of course, upgrade from your previous version of macOS if that’s what you want, but sometimes, it isn’t the best way to go.
Clean installations of macOS aren’t just for new Macs. Sometimes, having a fresh start is not only cathartic, but required in order to iron out the creases caused by using the same installation for years and, often, across many Macs.
If you do want to complete a full and clean installation of macOS 10.15 Catalina, here are the steps you need to follow to make it happen.
Requirements
Before we get started, there are a couple of things you need to do and know.
- Make sure everything is fully backed up. You can use Time Machine or make a clone of your drive. At the very least, make sure that you have all of your important documents saved somewhere that isn’t your Mac.
- You’ll need to have a Mac that supports macOS 10.15 Catalina. You can check the compatibility of macOS Catalina with Mac models here: macOS 10.15 Catalina Compatibility: Full List Of Compatible Macs.
- If you are planning to use Sidecar on Catalina, make sure to check and see here whether your Mac will support this feature or not: macOS 10.15 Catalina Sidecar Compatibility For Mac: Here Are The Details.
- With macOS Catalina, Apple has completely dropped support for 32-bit apps. Here’s how to see if the apps you have currently installed on Mojave will work on Catalina: Check 32-Bit Apps For Compatibility With macOS Catalina, Here’s How.
How To Do A Clean Install Of macOS 10.15 Catalina
Step 1: You’ll need to have the installation file before you can do anything. Download it from here: Download: macOS Catalina 10.15 Final DMG / ISO Released, Update Now.

Step 2: Now we need to create a bootable USB drive. We have a guide for that, so make sure you follow it and move on to the next step: Create macOS Catalina Bootable USB Flash Drive Installer.
Step 3: When you have your USB drive, turn your Mac off and insert it. Turn the Mac back on while holding the Option key. That will take you into the boot menu and allow you to select the USB drive.
Note: If you have a T2-chip enabled Mac, you will first need to enable booting from external storage via macOS Recovery.
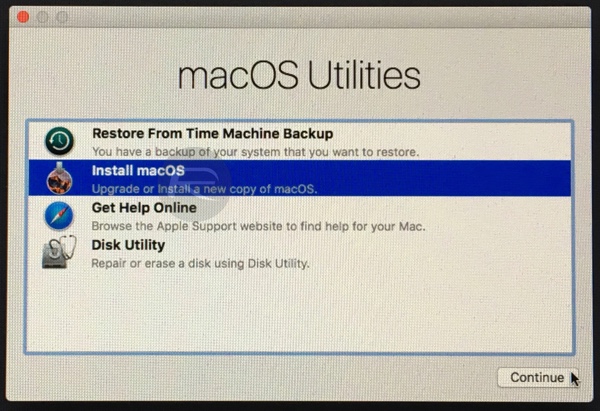
Step 4: This might take some time, but eventually, you’ll be greeted by the macOS utility menu. Select Disk Utility and then click Continue.

Step 5: Make sure that your Mac’s main drive is selected and then click Erase. Keep the name of the new drive as Macintosh HD and make sure that the format is set as either “APFS (Encrypted)” (if you have a modern Mac with faster SSD) or “Mac OS Extended (Journaled)”. Press the Erase button to proceed.

Step 6: Now you’ve completely wiped your drive. The next step is to fill it back up again. Select Install macOS and then click Continue. Make sure that your newly formatted drive is selected and follow the prompts.

That’s all there is to it. After the installation process completes, you’ll be left with a completely clean installation of macOS 10.15. Now all you need to do is reinstall all your apps and copy your documents back across. Enjoy!
Courtesy: Redmondpie.com


No comments:
Post a Comment